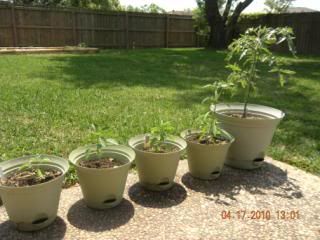
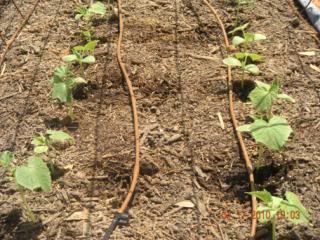
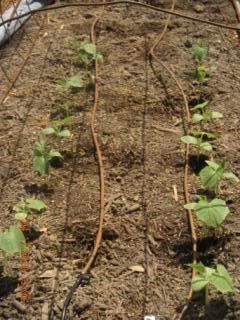
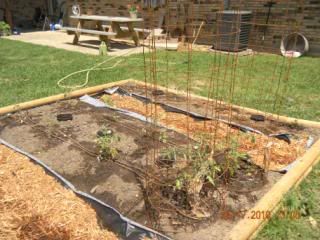
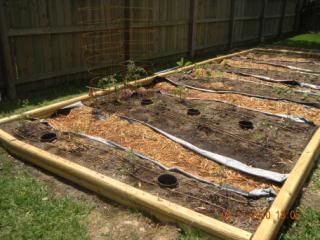
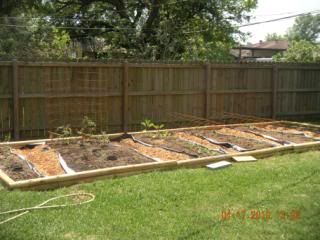
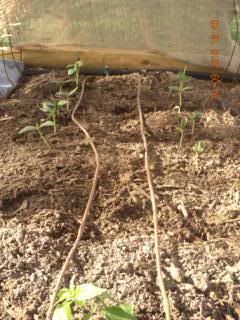
Well, since this is a 'learning year', I'm not going to dig up my slow growing tomato plants. I'll just watch them. I know what I did wrong. When I installed my drip irrigation system, I didn't realize that it would go deeper than the new roots had gone. I still needed to water the ground directly where the plant was just set. So I burned them a bit. They are doing 'ok' now that I'm watering the roots directly every other day. But the damage may be done. I don't know.
Everything else looks fantastic! Coming right along!
The Piper and Stella foundation Butterfly Garden:
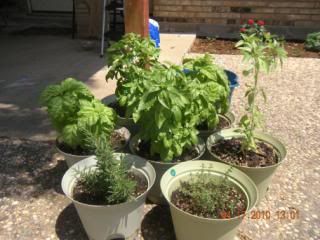
My herb garden. I prefer them in pots. I've tried them in the ground. I don't care what anyone says, you get FAR less bugs in the pots. I eat basil pesto probably once or twice a week in the summer. I need it at quick reach and bugless. This is the way to go!
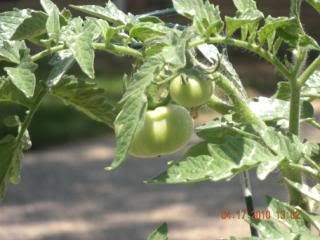
I experimented with doing peppers in pots vs. in the ground. It's a tight race. I so far can not tell a difference. But my potted tomato plant experiment is pretty interesting so far, the potted tomato plant is doing much better than the in ground tomatoes; HOWEVER, I watered this plant directly into the soil above the roots from the start. It wasn't starved for water like the others were. Lesson learned.
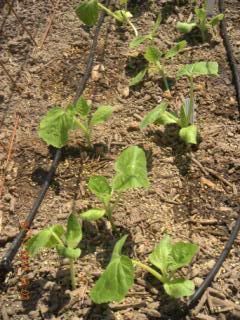
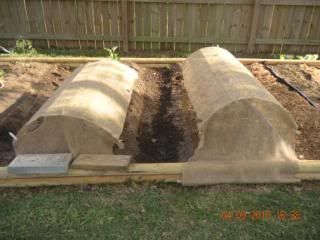
Squash. I was able to take the burlap material off since they have tripled in size. They are now able to tolerate direct sunlight without wilting.
Same with the cucumbers. It's time to get a lattice. I will probably just use a strip of concrete reinforcement wire.
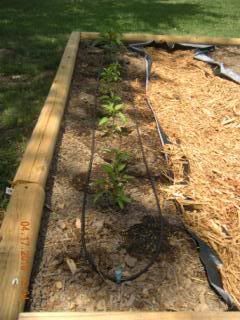
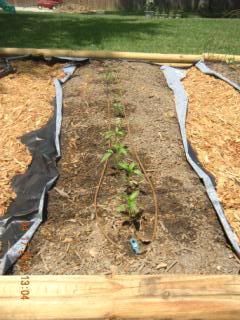
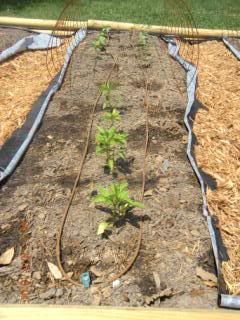
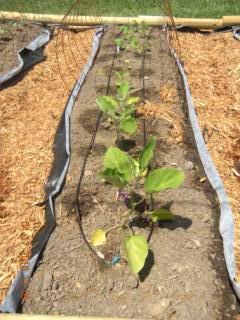
Peppers are thriving:
Bellpeppers doing great!
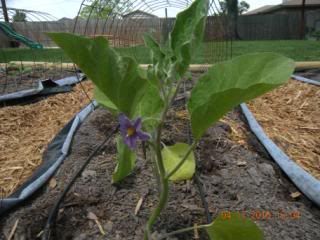
Eggplant about to spit!
At a glance:
Wednesday, April 21, 2010
Thursday, April 15, 2010
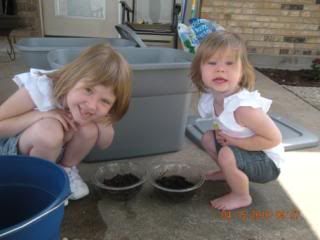
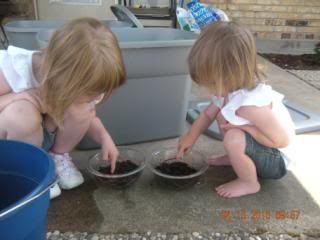
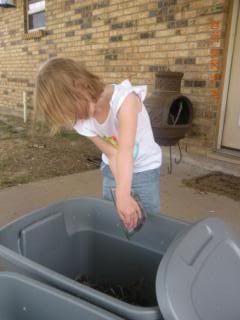
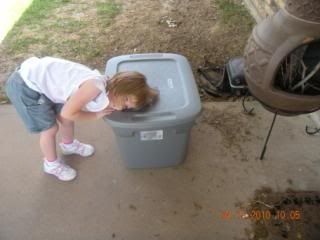
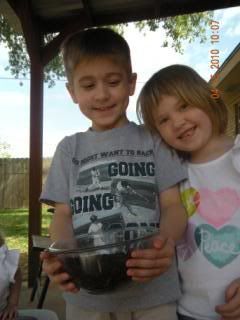
Who says worms are for boys?
That picture says it all!
My worms finally came in the mail today! I was so happy! Here's what happened...
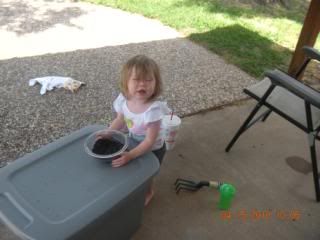
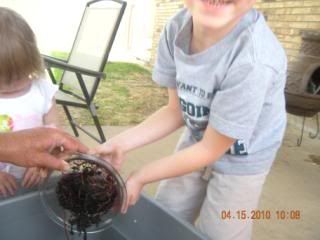
I split the worms into two bowl and watered them lightly. Dad was as excited as I was so I waited for him to come over too with my nephew Dillon:
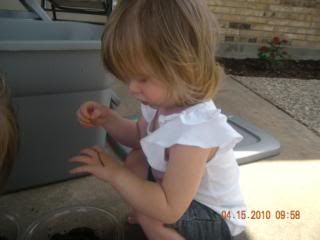
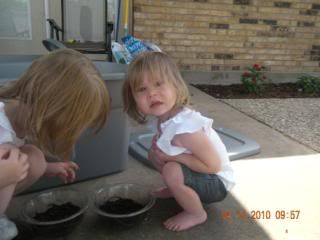
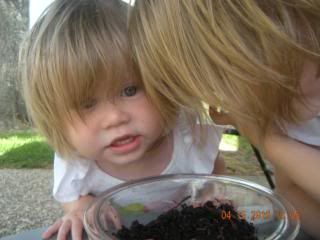
Stella was not so sure about them at first. She just squealed and poked fingers at them. Then she gave me this face:
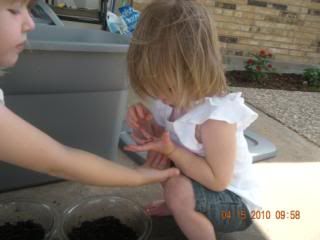
But she came around:
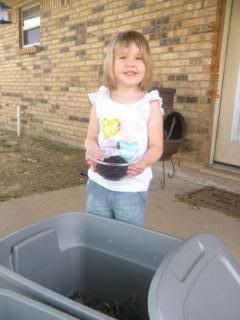
Then it was time to pour my share of the worms into my bin. I let Piper do the honors:
She says she can hear them building their house inside the bin:
They could barely wait for my Dad to get here. Stella wanted to dump his share into his bin:
But I held them off and Dillon got to do the honors:
Vermicomposting is going to be so much fun! The kids loved this project. They helped me set up the bin, shred newspapers and water the bedding. They were as excited as I was when the worms came in and then we had a short lesson on WHAT to put into the compost bin for the worms to eat. We also discussed the garbage impact on the earth and why recycling is so important. They both know that waste is probably my biggest anger button. Just leave a faucet running in my house and watch me explode. So they paid attention. They also wanted to each eat an apple so they could recycle their apple core!
Try it! You'll love it too!
Wednesday, April 14, 2010
Vermicomposting
It sounded like a lot of fun to vermicompost.
Last year, I put a washtub in the far back corner of my yard. I would diligently save all my produce and compostable materials in my beautiful hand thrown Rising Sun Earthworks (www.risingsunearthworks.com) compost bucket. Each day I would run the contents to the back of the yard where the birds would pick at it. I was left with nothing but egg shells and rabbit crap, God rest Thumper's soul. But I took that watery washtub full of rabbit crap and egg shells and I spread it in my garden this year. My Netherland Dwarf rabbit did not die in vein.
NO MORE! I said. Then my friend Kristi mentioned Vermicomposting. It was like a heavenly light shown down on my computer. I talked my Dad into researching it as well and we decided we'd give it a go!
Dad saved a ton of newspaper scraps. He shred them up very well and I took it from there!
I bought 2000 Red Wiggle worms for $39.95 + free shipping from a website that was supposed to have a great reputation. Since they have not been great, I will not share his website with my friends. And if you decide this is something for you and in your research a special 'uncle' tries to sell you something... I advise to go in a different direction. I ordered my worms on March 30, 2010. I have yet to receive them. After two emails, he finally told me that they were mailed out, again, on April 12, 2010. Nothing. I just want my dang worms!
SO... I digress... but it's my blog and I can do that if I choose.
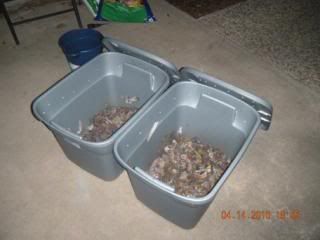
After ordering the red wiggle worms, which are much better for vermicomposting than earthworms. Trust me, they just are. I went to Walmart and bought two 18 gallon Rubbermaid storage bins. Remember, I bought two because I'm setting me and my Dad up.
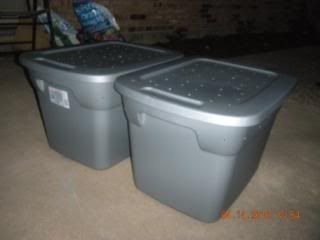
Then I had Damon use a drill to make air holes in the top and about 2 inches down from the lid
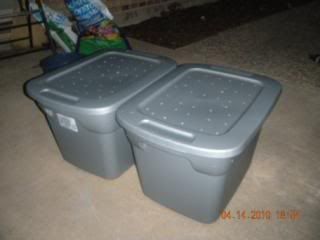
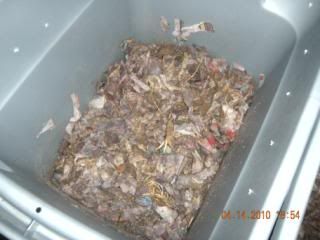
Then I split all the newspaper shreddings evenly between the bins. I used unchlorinated water (water from a tap left outside for a day or two for the chemicals to evaporate) to sprinkle into the newspaper. The news paper is about two inches tall in my bin dampened. The newspaper is supposed to feel like a squeezed out sponge. Then I threw in a few handfuls of dirt and mixed it well. You may need to add a little more water after you add the dirt.
Well, that's it for now.
Stay tuned!
Last year, I put a washtub in the far back corner of my yard. I would diligently save all my produce and compostable materials in my beautiful hand thrown Rising Sun Earthworks (www.risingsunearthworks.com) compost bucket. Each day I would run the contents to the back of the yard where the birds would pick at it. I was left with nothing but egg shells and rabbit crap, God rest Thumper's soul. But I took that watery washtub full of rabbit crap and egg shells and I spread it in my garden this year. My Netherland Dwarf rabbit did not die in vein.
NO MORE! I said. Then my friend Kristi mentioned Vermicomposting. It was like a heavenly light shown down on my computer. I talked my Dad into researching it as well and we decided we'd give it a go!
Dad saved a ton of newspaper scraps. He shred them up very well and I took it from there!
I bought 2000 Red Wiggle worms for $39.95 + free shipping from a website that was supposed to have a great reputation. Since they have not been great, I will not share his website with my friends. And if you decide this is something for you and in your research a special 'uncle' tries to sell you something... I advise to go in a different direction. I ordered my worms on March 30, 2010. I have yet to receive them. After two emails, he finally told me that they were mailed out, again, on April 12, 2010. Nothing. I just want my dang worms!
SO... I digress... but it's my blog and I can do that if I choose.
After ordering the red wiggle worms, which are much better for vermicomposting than earthworms. Trust me, they just are. I went to Walmart and bought two 18 gallon Rubbermaid storage bins. Remember, I bought two because I'm setting me and my Dad up.
Then I had Damon use a drill to make air holes in the top and about 2 inches down from the lid
Then I split all the newspaper shreddings evenly between the bins. I used unchlorinated water (water from a tap left outside for a day or two for the chemicals to evaporate) to sprinkle into the newspaper. The news paper is about two inches tall in my bin dampened. The newspaper is supposed to feel like a squeezed out sponge. Then I threw in a few handfuls of dirt and mixed it well. You may need to add a little more water after you add the dirt.
Well, that's it for now.
Stay tuned!
Monday, April 12, 2010
Garden 2010
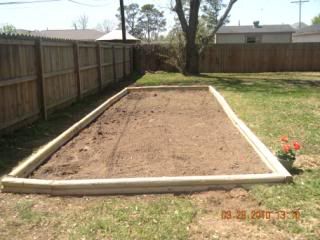
This year is our first attempt at a vegetable garden. I promised myself I won't cry this year if I kill everything. It's a trial and error year.
Step 1:
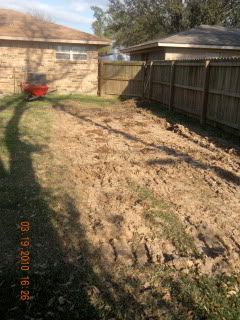
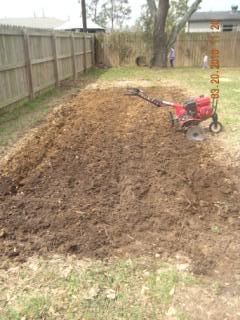
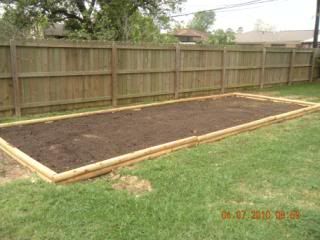
We had Damon's friend use his equipment to rip the grass up:
Step 2:
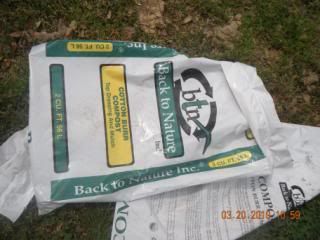
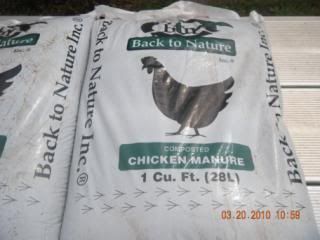
Add our Cotton Burma compost and Chicken Manure to the soil:
Step 3:
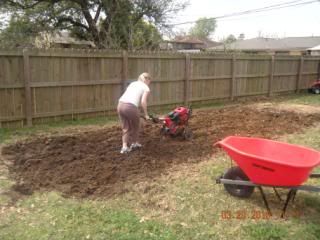
Till into the ground to make fertile:
Step 4:
Set up landscape timbers to keep the dogs out. Which by the way doesn't work.
Step 5:
Added 5 scoops of 'garden mix' dirt to the top of soil to build up the beds:
Step 6:
Make your rows with the hoe which makes you sore the next day.
Step 7:
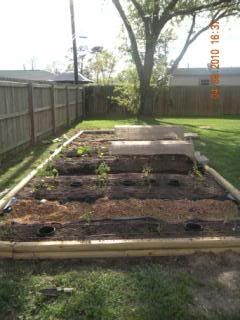
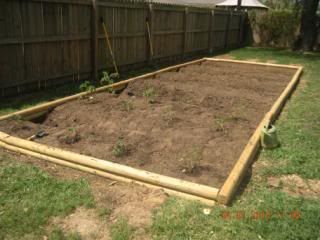
Plant your vegetables! Also add plastic planters in between the tomatoes to have the ability to apply fertilizer directly to the roots:
Step 8:
Add your drip irrigation system with the help of your Daddy!
Step 9:
Add a cover to my cucumbers and squash cause they were sooooo little that the wind and the sun was beating them up. So I used concrete reinforcement wire and burlap material to cover them like so:
Step 10:
Pray that you don't kill everything you just planted!
The Amateur Everything
Well, since most recording artist usually label their first CD after themselves, I figure - do what's popular... for now.
I mainly started it to record my knitting projects and gardening exploration and anything else that swings my fancy. I dabble. I'm a professional dabbler. You can roll your eyes at me if you want. Go ahead. Now is an appropriate time to do that.
Hense the name "The Amateur Everything". I don't think I have the attention span to be truly great at anything in particular. Nor do I aspire to be.
As a true Aquarian - I float. One week will be book reviews. One week will be knitting. One week will be gardening. One week will be movie reviews. I just can't predict where I'm going to go next.
Amateur.
Let's define it!
from thefreedictionary.com
Amateur
Well, that's about it for now! Stay tuned. I've been on a gardening kick - that's this week!
I mainly started it to record my knitting projects and gardening exploration and anything else that swings my fancy. I dabble. I'm a professional dabbler. You can roll your eyes at me if you want. Go ahead. Now is an appropriate time to do that.
Hense the name "The Amateur Everything". I don't think I have the attention span to be truly great at anything in particular. Nor do I aspire to be.
As a true Aquarian - I float. One week will be book reviews. One week will be knitting. One week will be gardening. One week will be movie reviews. I just can't predict where I'm going to go next.
Amateur.
Let's define it!
from thefreedictionary.com
Amateur
1. A person who engages in an art, science, study, or athletic activity as a pastime rather than as a profession.
2. Sports An athlete who has never accepted money, or who accepts money under restrictions specified by a regulatory body, for participating in a competition.
3. One lacking the skill of a professional, as in an art.
adj.
1. Of or performed by an amateur.
2. Made up of amateurs: an amateur cast.
3. Not professional; unskillful.
Well, that's about it for now! Stay tuned. I've been on a gardening kick - that's this week!
Subscribe to:
Posts (Atom)